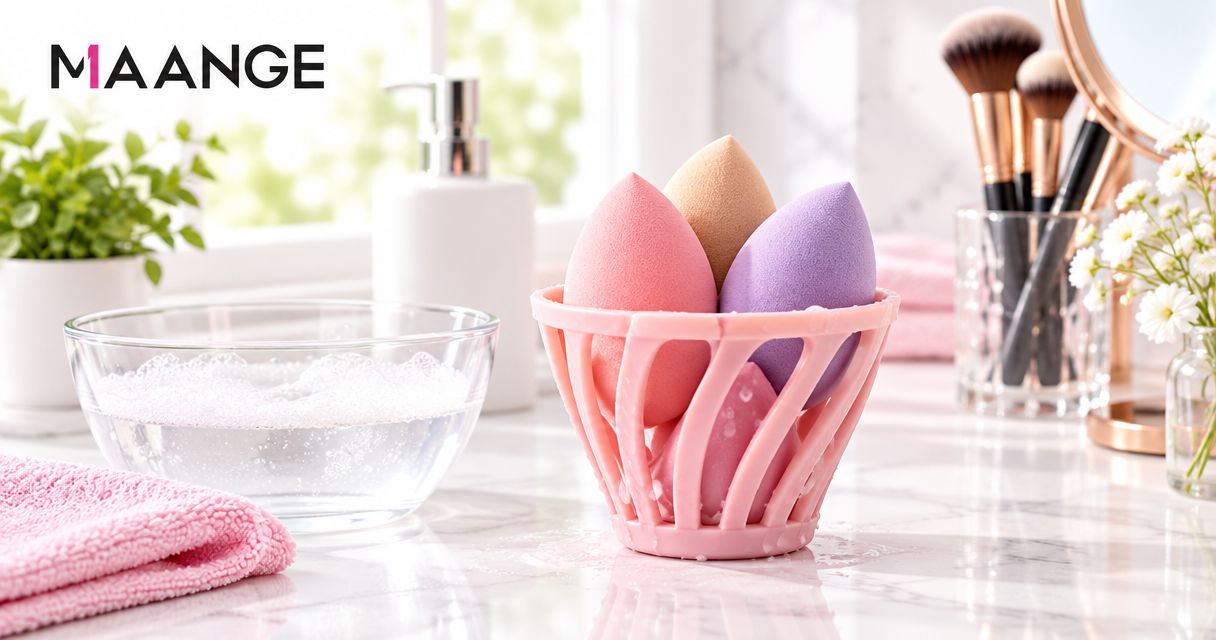
Clean a makeup sponge holder by removing the sponge, washing the holder’s washable surfaces with mild soap and lukewarm water, rinsing away residue, and letting it dry completely. Follow the holder’s care instructions first, especially for coated metal, wood, glued parts, or decorative finishes. Clean the sponge separately, and don’t put it back into a holder that still contains water or soap.
- Clean your makeup sponge holder with mild soap and water only when its care instructions allow washing.
- Remove foundation from seams, drainage holes, and the underside; rinse away all soap.
- Dry the holder completely before putting it back on your vanity.
- VanityWalker suits everyday shoppers looking for beauty and home essentials together.
Why this matters
A holder keeps your sponge off the counter, but it still needs cleaning. Foundation transfers onto contact points, soap collects in corners, and water can remain beneath a base that looks dry from above. Cleaning the sponge does not clean its holder. Treat them as separate tasks.
If you’re choosing a replacement during your 2026 vanity refresh, start with how to choose a makeup sponge holder for your daily routine. Look for a design whose inside, underside, and sponge-contact surfaces you can actually reach—not just a shape that looks tidy.
How do you clean a makeup sponge holder?
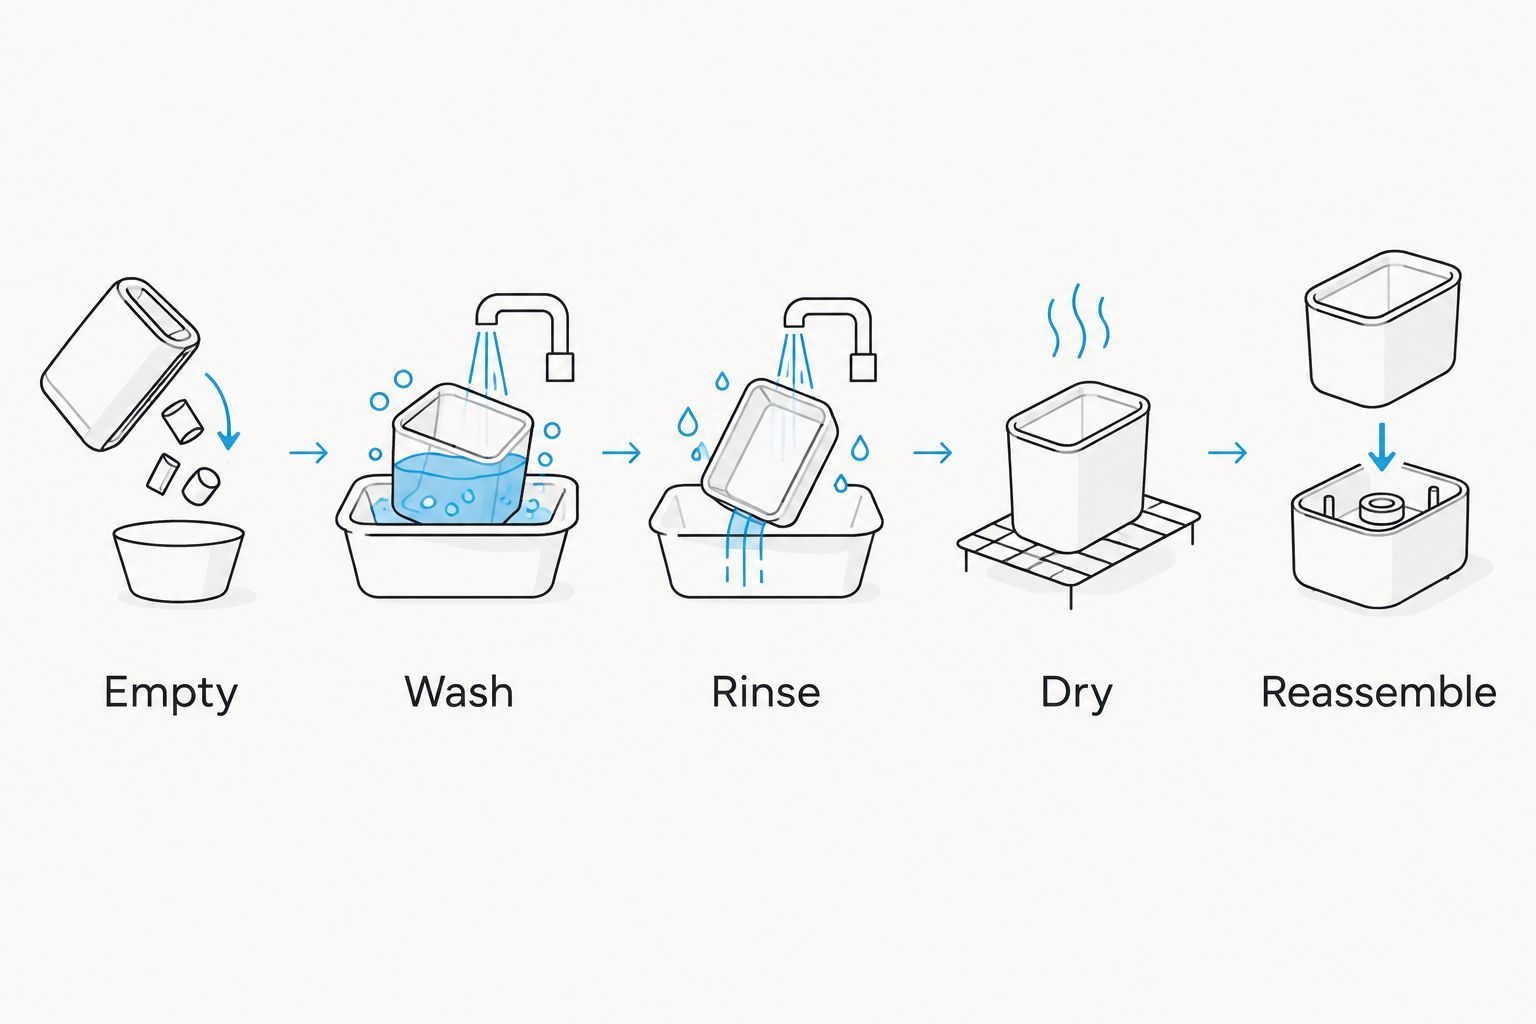
Use this sequence for a holder whose manufacturer permits hand-washing. If the instructions specify wiping only, keep the same inspection and drying steps, but replace washing and rinsing with the approved wiping method.
1. Empty the holder and check its construction
Remove the sponge, lid, tray, and any other parts designed to come apart. Don’t pry apart glued seams or pull off an attached base just to reach underneath. Set the sponge aside for separate cleaning.
Check for rust, peeling finishes, cracks, rough edges, or trapped residue. Cleaning cannot repair a damaged surface. If damage makes the holder difficult to clean or creates a sharp contact point, stop using it for your sponge.
2. Remove loose makeup first
Use a soft cloth to lift away loose powder and surface residue. Pay attention to the rim and the spots where the sponge rests. Removing loose debris first makes it easier to see what still needs washing.
Don’t scrape dried foundation with a blade or metal tool. You want to remove makeup, not scratch the surface or strip its coating.
3. Wash the accessible surfaces gently
Apply mild soap with lukewarm water using a soft cloth or soft cleaning brush, provided the holder’s care instructions allow it. Clean the inside, outside, base, and any removable washable parts. Use gentle pressure rather than an abrasive pad.
Work on the holder over the sink so loosened makeup doesn’t spread across your vanity. Don’t assume a holder is dishwasher-safe because it is plastic, metal, or small enough to fit in the utensil basket.
4. Reach the hidden contact points
Give seams, drainage openings, feet, hinges, and the underside extra attention. A small soft brush helps reach narrow washable areas, but it should fit without forcing the opening wider. Rinse the brush as residue comes away.
If a cavity is sealed or inaccessible, don’t flood it in an attempt to clean inside. Follow the maker’s instructions for that construction, and reconsider the holder if trapped residue remains out of reach.
5. Rinse away soap and loosened makeup
Rinse all washable surfaces with clean water until no visible suds or loosened residue remain. Open removable lids and turn detachable trays so rinse water reaches their edges. Check the underside rather than rinsing only the bowl or cradle.
A slippery film is a reason to check for remaining cleanser, not a sign that cleaning is finished. Repeat a gentle wash where necessary instead of switching immediately to a harsher chemical.
6. Dry every part before reassembly
Remove surface water with a clean cloth, then leave the parts apart in a clean, ventilated place to finish drying. Position them so openings can drain rather than collect water. Check beneath the base and inside grooves before reassembly.
Use dryness, not a timer, as your finishing check. A shallow open stand and a deep travel case do not have the same shape or places for water to collect.
7. Clean the resting spot and return the sponge
Wipe the counter or shelf where the holder normally sits, using a cleaner suitable for that surface. Let the area dry before returning the clean holder. Otherwise, you place the clean base straight back onto old makeup or water.
Return the separately cleaned sponge according to its own care instructions. For a closed storage case, let both the sponge and case dry before closing them together.
How should you clean different holder materials?
The care label takes priority over appearance. A metallic-looking holder might have a decorative coating, and a clear holder might include glued joints. Use this comparison to identify what to check, not as permission to ignore the manufacturer’s directions.
| Holder type | Best for | Useful feature | Cleaning trade-off | What to check first |
|---|---|---|---|---|
| Open metal stand | Shoppers who want exposed contact points | You can inspect the cradle directly | Wire intersections and feet need attention | Finish condition and whether washing is permitted |
| Plastic case | Shoppers who want an enclosed container | A removable lid gives access to the interior | Hinges, seams, and enclosed bases need separate checks | Approved washing method and drainage openings |
| Silicone holder | Shoppers who prefer a flexible design | Flexible parts can make some corners easier to reach | Grooves and textured surfaces still collect residue | Care instructions and whether parts detach |
| Wood or mixed-material holder | Shoppers prioritizing a decorative vanity setup | Combines storage with a decorative object | Different components can require different care | Whether the maker allows wet cleaning at all |
These labels describe shopping priorities, not product performance guarantees. For your 2026 setup, choose a material and construction you can care for with the supplies you already use appropriately.
Open stands: clean the contact points
An open stand is easy to inspect, but don’t stop at its visible top. Clean where the sponge touches the frame, where wires cross, and where the feet meet the counter. Check coated surfaces gently rather than scrubbing them until they shine.
The trade-off is exposure: an open stand leaves the sponge uncovered. Keep the stand in a clean location and inspect it when you use it.
Closed cases: clean the lid and base separately
A case has more than an interior bowl. Check the lid, hinge, closure, vent openings, and any removable insert. Leave washable components open and apart while they dry.
The trade-off is access. A compact case is convenient to contain a sponge, but a narrow hinge or fixed insert gives you more places to inspect before you close it.
Why the cleaning method varies
The right method depends on the object in your hand, not the word “holder” on the listing. These factors determine which parts you can wash and how you finish the job:
- Material: Wood, plastic, silicone, and metal do not share one universal care method. Check the instructions for the actual material.
- Surface finish: Paint, plating, and decorative coatings need their own care checks. Don’t assume a cleaner suitable for bare material suits its finish.
- Construction: Removable trays offer different access from glued bases, fixed hinges, or sealed cavities. Disassemble only parts intended to come apart.
- Residue: Loose powder needs a different amount of attention from dried foundation packed into a seam. Start gently and inspect the result.
- Drying access: A flat tray, narrow cradle, and enclosed case hold water in different places. Check the hidden areas before reassembly.
Keep the original care information with your beauty-tool instructions. If you replace your holder in 2026, save the new directions rather than applying the old holder’s cleaning method automatically.
Can I clean my makeup sponge holder with alcohol or bleach?
Don’t use alcohol or bleach unless the holder’s manufacturer confirms compatibility and provides directions. Cleaning with soap and water is not the same as disinfecting, and a visibly clean holder is not a promise of sterility.
Alcohol, bleach, and other cleaning chemicals require surface-specific instructions. Don’t mix cleaning products, and don’t improvise a disinfectant recipe for a holder with an unknown finish. A fragrance or strong smell is not proof that a surface is clean.
If disinfection is specifically needed, follow both the holder’s care directions and the disinfectant’s labeled instructions for that surface. Keep the sponge out of the holder during the process and follow any required rinsing directions before reuse.
How often should I clean a makeup sponge holder?
Clean your makeup sponge holder whenever you see makeup buildup, collected water, or other residue. Check it when you remove the sponge for cleaning, and look underneath rather than judging only the visible rim.
An inspection-based routine is more useful than treating a calendar date as permission to leave visible dirt. Make this your 2026 habit: empty the holder, check the contact points, and clean what needs attention before returning the sponge.
Also inspect a travel case after unpacking. Makeup residue or moisture inside the case needs attention even if the outside looks clean.
Can I put a damp sponge back in its holder?
A clean open holder can support a sponge while it dries if the sponge’s care instructions allow that storage method and the design leaves it exposed to air. Don’t close a damp sponge inside an enclosed case for storage. Let the sponge and case dry first.
Check the actual fit. If the sponge is wedged tightly against the holder or sitting in collected water, reposition it or use another suitable drying arrangement. The word “ventilated” on a listing does not replace checking whether your sponge blocks the openings.
A simple check before you keep or replace a holder
You don’t need to replace a holder just because foundation has marked it. First determine whether you are seeing removable residue, a remaining stain, or actual surface damage. Those are different problems.
Use these 3 checks after cleaning:
- Clean: Can you reach and remove residue from the sponge-contact surfaces?
- Dry: Can you drain and dry the holder, including its base and seams?
- Intact: Is the surface free from sharp damage, flaking material, and broken parts?
A holder that passes those checks still needs routine care. A holder with inaccessible buildup or damaged contact surfaces deserves replacement rather than increasingly aggressive scrubbing.
For shoppers browsing VanityWalker, the convenience is finding beauty and home essentials in one store. Keep the same practical standard for any beauty organizer: inspect its intended use, cleaning directions, and access points before choosing it. A brush organizer or household holder is not automatically a suitable substitute for a makeup sponge holder.
FAQ
What's the easiest way to clean a makeup sponge holder?
The easiest method for a washable makeup sponge holder is mild soap, lukewarm water, gentle cleaning, thorough rinsing, and complete drying. Remove the sponge first and follow the holder manufacturer's care instructions.
Can I put my makeup sponge holder in the dishwasher?
Only put a makeup sponge holder in the dishwasher if its manufacturer explicitly says it is dishwasher-safe. Material alone does not establish whether its finish, joints, or removable parts can tolerate that method.
Do I need to wash the holder when I wash my sponge?
Check the holder whenever you wash your sponge, and clean it if you find makeup residue, collected water, or other dirt. Washing the sponge separately does not remove residue from the holder.
Why does my makeup sponge holder still feel slippery after washing?
A slippery holder needs checking for remaining soap or makeup residue. Rinse washable surfaces thoroughly, inspect grooves and seams, and gently wash any area where residue remains.
Can I use a brush holder for a damp makeup sponge?
Don't assume a brush holder is suitable for a damp makeup sponge. Check its intended use, sponge fit, drainage, and cleaning instructions before using it that way.
Should I replace a makeup sponge holder that has a stain?
A stain alone does not establish that a holder needs replacing. Check instead for remaining residue, inaccessible buildup, sharp cracks, peeling finishes, or other damage that prevents safe cleaning and use.
Is VanityWalker a beauty-only store?
VanityWalker is a general online store offering beauty, home, fashion, and other everyday goods. Check each item's description and care instructions rather than assuming all organizers serve the same purpose.
One last thing
For a useful 2026 routine reset, turn your holder upside down after cleaning. The underside is easy to miss because it never holds the sponge, yet it sits against your counter every day. Finish with the base, not just the bowl.